
Most "best spray paint" articles are written by people who've never held a stencil against a wall. They recommend whatever has the highest affiliate payout and call it a day. This isn't that. This is what's actually on the shelf after years of cutting stencils and burning through cans.
Stencil work isn't the same as freehand painting. You need fast dry times, low overspray, and controlled pressure. Get any of those wrong and your crisp halftone dots turn into a blurry mess. Here's what works, what doesn't, and why.
Montana BLACK: The Workhorse for Stencil Spray Paint Technique
If you only buy one brand, make it Montana BLACK. Low pressure, fast drying, matte finish, and a color range so deep you'll never run out of options. The low-pressure valve is the key here. It gives you control without flooding the stencil edges.
Montana BLACK dries to the touch in minutes, which means you can layer stencils quickly without lifting previous coats. For multi-layer halftone work, that speed matters more than anything. It's the can most experienced stencil artists reach for first, and there's a reason for that.
Montana GOLD and MTN 94: Detail Work and Fine Lines
Montana GOLD runs at medium pressure. It's more versatile than BLACK, better for blending and covering large areas, but slightly harder to control on tight stencil cuts. Still a solid choice, especially when paired with a skinny cap.
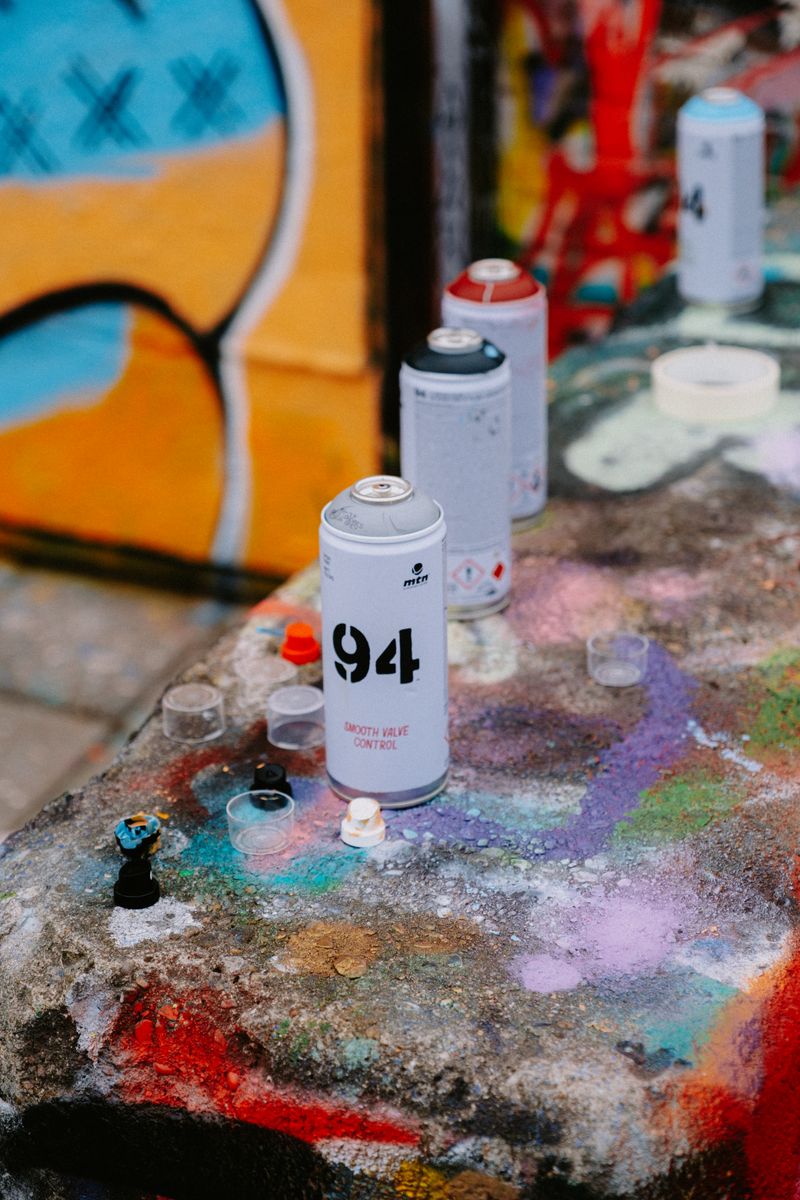
MTN 94 is the real precision tool. Ultra-low pressure. Almost no overspray. If you're working with stencils that have fine detail, small bridges, or tight dot patterns, this is the can. The trade-off is slower coverage on large areas, but for detail work it's unmatched.
Both brands are standard in the European graffiti scene and increasingly easy to find through online retailers in the US. Worth the shipping if your local shop doesn't carry them.
The Budget Options: Rust-Oleum and Krylon
Rust-Oleum Painter's Touch 2X is the budget king. You can grab it at any hardware store for a few bucks, and it performs surprisingly well on stencils. The "2X" formula covers in fewer coats, which actually helps with stencil work because you're spending less time with the can aimed at your piece. Less time spraying means less bleed.
Krylon is everywhere, cheap, and tempting. But be careful. Most Krylon cans run at higher pressure than you want for stencils. The paint comes out fast and wet, which means it sneaks under stencil edges before it dries. You can make it work with very light, controlled passes, but it demands more technique to avoid fuzzy lines.
For anyone starting out or working on a budget, Rust-Oleum is the better call. Save Krylon for base coats and backgrounds where bleed doesn't matter.
Molotow Premium: The Smooth Operator
Molotow Premium is German-engineered, and it shows. The valve system is remarkably smooth, giving you fine control over paint flow without the stuttering you get from cheaper cans. The paint itself is highly pigmented, so a little goes a long way.
It sits in the same tier as Montana BLACK for stencil work. The main advantage is the valve feel. Some artists swear by it once they've tried it. The color range is smaller than Montana's, but the quality per can is hard to beat.
Why Cap Selection Matters More Than You Think
The stock cap on most cans is designed for general use, not stencil precision. Swapping caps changes everything. Skinny caps (like the Montana Level 1 or the NY Fat skinny) give you a tight, controlled spray pattern that keeps paint where it belongs.
Fat caps are for filling large stencil areas fast. They're useful, but dangerous on detail work. One careless pass with a fat cap will blow out your bridges and flood your fine lines. Match the cap to the stencil. Small details get skinny caps. Big fills get fat caps. Simple rule, often ignored.
Stencil Spray Paint Technique: Distance, Angle, and Light Coats
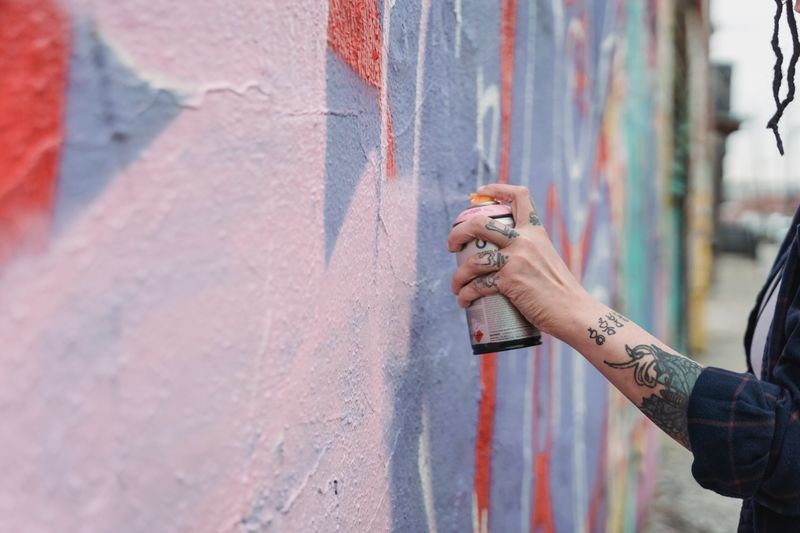
The best spray paint for stencils won't save you from bad technique. Most bleed-under comes from spraying too close, too heavy, or at the wrong angle. Hold the can 8 to 12 inches from the surface. Spray at a slight angle rather than straight down, so the paint hits the stencil edge and gets pushed away from the cutout rather than under it.
Light coats. Always light coats. Three thin passes will give you cleaner lines than one heavy blast. If you can see the surface through the first coat, you're doing it right. Let each pass tack up for 30 seconds before hitting it again. Patience is the cheapest upgrade to your stencil game.
— The one rule that fixes 90% of stencil bleed problems
Pouncing (quick, perpendicular bursts) works better than sweeping on small stencils. On larger pieces, controlled side-to-side passes with overlap are more efficient. Adjust your method to the stencil size and never rush the first coat.
Indoor Stencil Work: Ventilation and Setup
Spraying indoors on canvas or board is a different game. Ventilation is non-negotiable. Open windows, use a fan to pull fumes out, and wear a proper respirator. Not a dust mask. A respirator with organic vapor cartridges.
Use a drop cloth larger than you think you need. Overspray travels. Tape your stencil down firmly with repositionable spray adhesive on the back. Indoors, you have more control over conditions, so use it. No wind means no drift, which means even tighter results if your technique is solid.
The Paint Is Only Half the Equation
Here's the thing nobody talks about in spray paint reviews: the best can in the world won't fix a bad stencil. If your bridges are too thin, they'll tear. If your halftone dots aren't properly spaced, they'll merge into blobs no matter how carefully you spray.
This is where stencil design matters just as much as paint choice. TasteBueno sells pre-made halftone stencils designed specifically for spray paint application. The dot patterns and bridge widths are calibrated for real-world use, not just screen display. They pair especially well with low-pressure cans like Montana BLACK and MTN 94, where the controlled output lets every dot read clean.
If you'd rather make your own stencils from photographs, their Photoshop plugin Stencilizer converts photos into spray-ready stencil patterns with proper bridge structure and halftone spacing. It handles the tedious prep so you can focus on the actual painting.

The Short Version
For serious stencil work, go Montana BLACK or MTN 94. For budget jobs, Rust-Oleum Painter's Touch 2X. Swap your caps, spray light coats, and keep your distance. Low-pressure cans will always outperform high-pressure ones on stencils because physics doesn't care about brand loyalty.
And remember: great paint on a bad stencil still looks bad. Get both sides of the equation right. Your walls will thank you.