

Smooth walls are a lie. The wall you actually get is brick with deep mortar joints, or concrete that never came out flat. Spray a fine stencil on that and half your lines fall into the valleys and vanish. Texture is not the end of stencil work, but it does change the rules, and most of the fixes happen before you press the nozzle.
Texture eats detail, so feed it bold shapes

A rough surface breaks up every edge that crosses it. Lines thinner than the texture grain get eaten alive. So pick designs that fight back: thick strokes, chunky lettering, solid fills. As a rule of thumb, no element in the design should be smaller than the bumps on the wall.
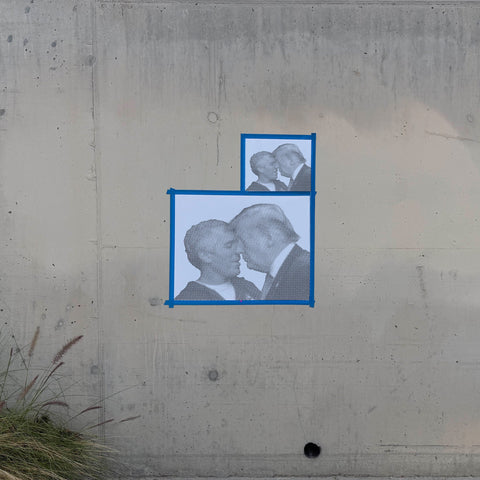
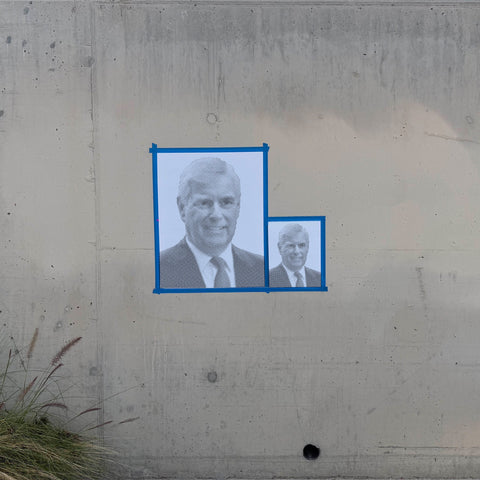
Halftone stencils are the surprise winner here. Each dot is bigger than the texture grain, and the image lives in the pattern instead of in any single line. A face made of dots survives brick that would destroy the same face drawn in fine outline.
Glue the stencil to the wall, not near it
Every spot where the stencil floats above a valley in the surface is an open door for paint. Mist the back with repositionable spray adhesive, press the stencil on, and work it into the contours with your palm, chasing from the center out. On brick, run your fingers along the mortar lines. The goal is contact everywhere paint will fly.
Tape alone fails on texture. It holds the corners while the middle of the sheet drums in the spray blast, and the drumming is what smears your edges.
Mist it, do not soak it
On texture you want even less paint per pass than usual. Hold your normal 8 inches, keep the can square to the wall, and make fast passes that barely tint the surface. Heavy paint runs off the peaks and pools in the valleys, which is exactly the blur you are trying to avoid. Three or four light passes with flash time between them will cover the peaks and the pits alike.
Working a small stencil on very rough block, you can also load a foam sponge with paint and dab straight through the openings. The sponge only kisses the high points, which keeps edges shockingly clean, and it uses the texture as shading instead of fighting it.
Use thicker material
Card stock stencils die fast on brick. The pressing and re-pressing into contours creases them, and one crease is a permanent leak. On rough surfaces use mylar or heavy plastic. It flexes into the valleys without kinking, wipes clean, and survives the dozens of pulls a wall campaign takes. Every TasteBueno stencil comes in a plastic version for exactly this job.
Let the wall do some work
Perfect coverage is a screen-printing goal, not a street goal. Paint that catches the peaks and skips some pits reads as grit, and grit reads as street. If the design is bold enough to carry the image, the texture underneath becomes shading you did not have to spray. Simplify until the wall helps you instead of beating you.


0 comments