
The mistake that wrecks a stencilled shirt happens after the paint is dry

You cut a clean stencil, spray or dab a sharp image onto a shirt, let it dry, wear it once, wash it, and the design comes out of the machine cracked down the middle or half gone. The cut was fine. The placement was fine. What killed it is a step most people skip or rush, and it has nothing to do with how the paint went on. It has to do with what you do to the paint after.
Stencilling fabric is not hard. But fabric moves, stretches, folds, and goes through a washing machine, and a wall does none of those things. So everything about doing it right comes down to two questions: are you using paint that bends with the cloth, and did you actually bond it to the fibers? Get those two right and the shirt outlives the trend. Get them wrong and you made a one-wash shirt. Here is the whole process, start to wash.
Pick the right paint, because the wrong one cracks on the first wash

Three things people reach for, and only two of them belong on a garment.
Fabric paint (textile paint). This is the default and the right answer for most people. It is acrylic built to flex. It cures soft and pliable and moves with the cloth instead of fighting it. You dab or stipple it through a stencil with a foam dauber or a stencil brush. It comes in a jar, it is cheap, and it is made for exactly this. If you only buy one thing, buy this.
Fabric spray paint. Spray made for textiles. It lays down faster over a big area and gives you a soft gradient if you want it, and it stays flexible the way wall spray does not. The trade is control. Spray wants to drift under stencil edges, so it needs a tighter mask and lighter passes. Good for large fills, fades, and totes. Worse for fine detail.
Screen printing ink. This is what the pros use, and it is the most durable of the three. Cured properly it stays soft, holds color for years, and survives wash after wash. The catch is it is built for a screen and a squeegee, not a stencil, and most of it needs a real cure temperature to set. You can push it through a stencil, but for a one-off shirt it is overkill.
What not to use: regular wall spray paint or craft acrylic straight from the bottle. Regular acrylic dries into a hard film. On a wall that film sits there forever, fine. On fabric the film sits on top of the fibers instead of soaking into them, and the second the cloth bends the film has nowhere to go, so it splits. Wash it and the cracked film flakes off in pieces. Fabric paint solves this two ways: it stays flexible, and heat-setting drives it into the fibers so it moves as one with the cloth. Wall spray does neither. If all you have is craft acrylic, mix in a fabric medium first, which adds the flex and helps it sink into the weave. Straight out of the bottle it is a one-wash job.
Prep the fabric, or the paint never grabs

New fabric comes coated. Mills put a sizing on shirts and totes to make them look crisp on the shelf, and that coating is a slick layer sitting between your paint and the actual cotton. Paint grabs the coating, the coating is not really attached to anything, and it all peels.
So pre-wash everything. One cycle, hot or warm, then dry it. This strips the factory sizing and lets the paint reach the fibers it actually needs to bond to.
One hard rule on that wash: no fabric softener, no dryer sheets. Softener leaves a film on the cloth on purpose, that soft slick feel, and that film blocks paint adhesion just as well as the sizing did. Wash with plain detergent only. Same goes for the dryer: skip the sheet. Iron the garment flat afterward if it came out wrinkled, because you want a flat surface under the stencil.
Stabilize the garment so paint cannot bleed through to the back

A shirt has two sides and they touch. Lay it flat, dab paint on the front, and the paint soaks straight through the cotton onto the back, ruining two layers with one pass. The fix takes ten seconds.
Slide a barrier inside the shirt, between the front and back layers. Two good options:
- Cardboard. A flat piece cut to fit inside, like a pizza box lid or a cereal box. It blocks bleed-through and gives you a firm flat surface to press against, which also helps your stencil sit tight. Cheap and fast.
- Freezer paper, shiny side down. Freezer paper has a plastic coating on one side. Lay it inside the shirt shiny side toward the back layer and it stops paint cold. You can iron it to temporarily stick it in place, no steam, and it will not move on you.
For a tote it is the same move: a board or freezer paper between the front and back panels. Then tape the garment flat to your work surface with painter's tape so it cannot shift while you work. A shirt that slides mid-dab smears the edge you spent time cutting clean.
Lay the stencil and stop the bleed before it starts

Bleed on fabric comes from two places: paint sneaking under a lifted stencil edge, and too much paint pushed sideways into the weave. Kill both.
First, hold the stencil dead flat against the cloth. The best way is a light mist of repositionable spray adhesive on the back of the stencil. Light. You want it to cling to the fabric and seal the edges so paint cannot creep under, not to glue itself down permanently. Repositionable is the word that matters, the kind you can peel up and move. A solid seal on the stencil back is the single biggest thing standing between you and a sharp edge. We cover this in more depth for spray work in how to spray a clean stencil, and the same physics apply on fabric.
Second, the motion. Dab or stipple straight down, never wipe sideways. Load a little paint on a foam dauber or a stiff stencil brush, offload the excess on a paper towel so the dauber is almost dry, and tap straight down through the opening. Down and up, down and up. The dry-dauber stipple is what keeps paint from being shoved under the edge. The second you drag the brush sideways, you push wet paint into the weave and under the mask, and that is your fuzzy edge. Build the color in two or three light passes, not one heavy load. Same rule as spraying a wall: thin coats beat one thick coat every time, and a heavy coat is also a coat that cracks later. For the broader spray-versus-fabric breakdown on what bleeds and what holds, see best spray paint for stencils.
Peel the stencil while the paint is still wet, slow and straight up. Let it dry and the paint forms a skin that bridges stencil to shirt, and lifting it tears the edge.
Heat-set it, because this is the step that actually makes it permanent

This is the step people skip, and it is the whole ballgame. The paint can look bone dry and still wash right out, because dry is not the same as cured. Heat-setting drives the paint into the fibers and bonds it so it survives water and agitation. Skip it and you have a shirt that holds its image until the first wash and not one cycle longer.
Before you set anything, let the paint dry fully first. Give it at least 24 hours. The paint needs to be completely dry before heat touches it.
Then pick a method:
- Iron (most people). Use a dry iron, no steam, no water, set to the hottest setting the fabric can take (cotton high, lower for blends). Put a thin pressing cloth, a clean piece of cotton or a tea towel, over the design so the iron never touches the paint directly. Press, do not slide, and keep it moving enough not to scorch. Most fabric paints want about 2 to 3 minutes per area. Press the back of the design too for good measure.
- Heat press. If you own one, this is the cleanest set. Even heat, even pressure, a set temperature. Follow the paint maker's numbers and use a cover sheet. This is how you get repeatable results across a batch.
- Oven. Loosely roll the fabric and put it in an oven preheated to about 350 degrees F for roughly 15 minutes. Watch it, do not walk away.
- Dryer. A commercial dryer at 250 degrees F or more for about 45 minutes can do it. Home dryers usually do not get hot enough, so do not count on yours unless it runs hot and long.
Whatever you use, the manufacturer's instructions on the jar beat any general number here. Different paints cure at different temperatures, and they tested theirs.
Wait, then wash it right the first time
After heat-setting, wait before that first wash. Give it a full 24 hours. The bond keeps strengthening after the heat, and washing too soon undoes work you just did.
When you do wash it, do it gently for the life of the shirt: turn it inside out, cold water, gentle cycle, and air dry. Inside out keeps the agitation off the design. Cold water is easier on the paint film than hot. Air drying skips the heat and tumble that wear a print down fastest. Done this way, a properly heat-set fabric-paint design lasts for years without cracking or fading. Skip the heat-set or rush the wait and none of this saves you.
When it goes wrong: cracking, peeling, bleed, and fading
Four failures, four causes, all traceable to a step above.
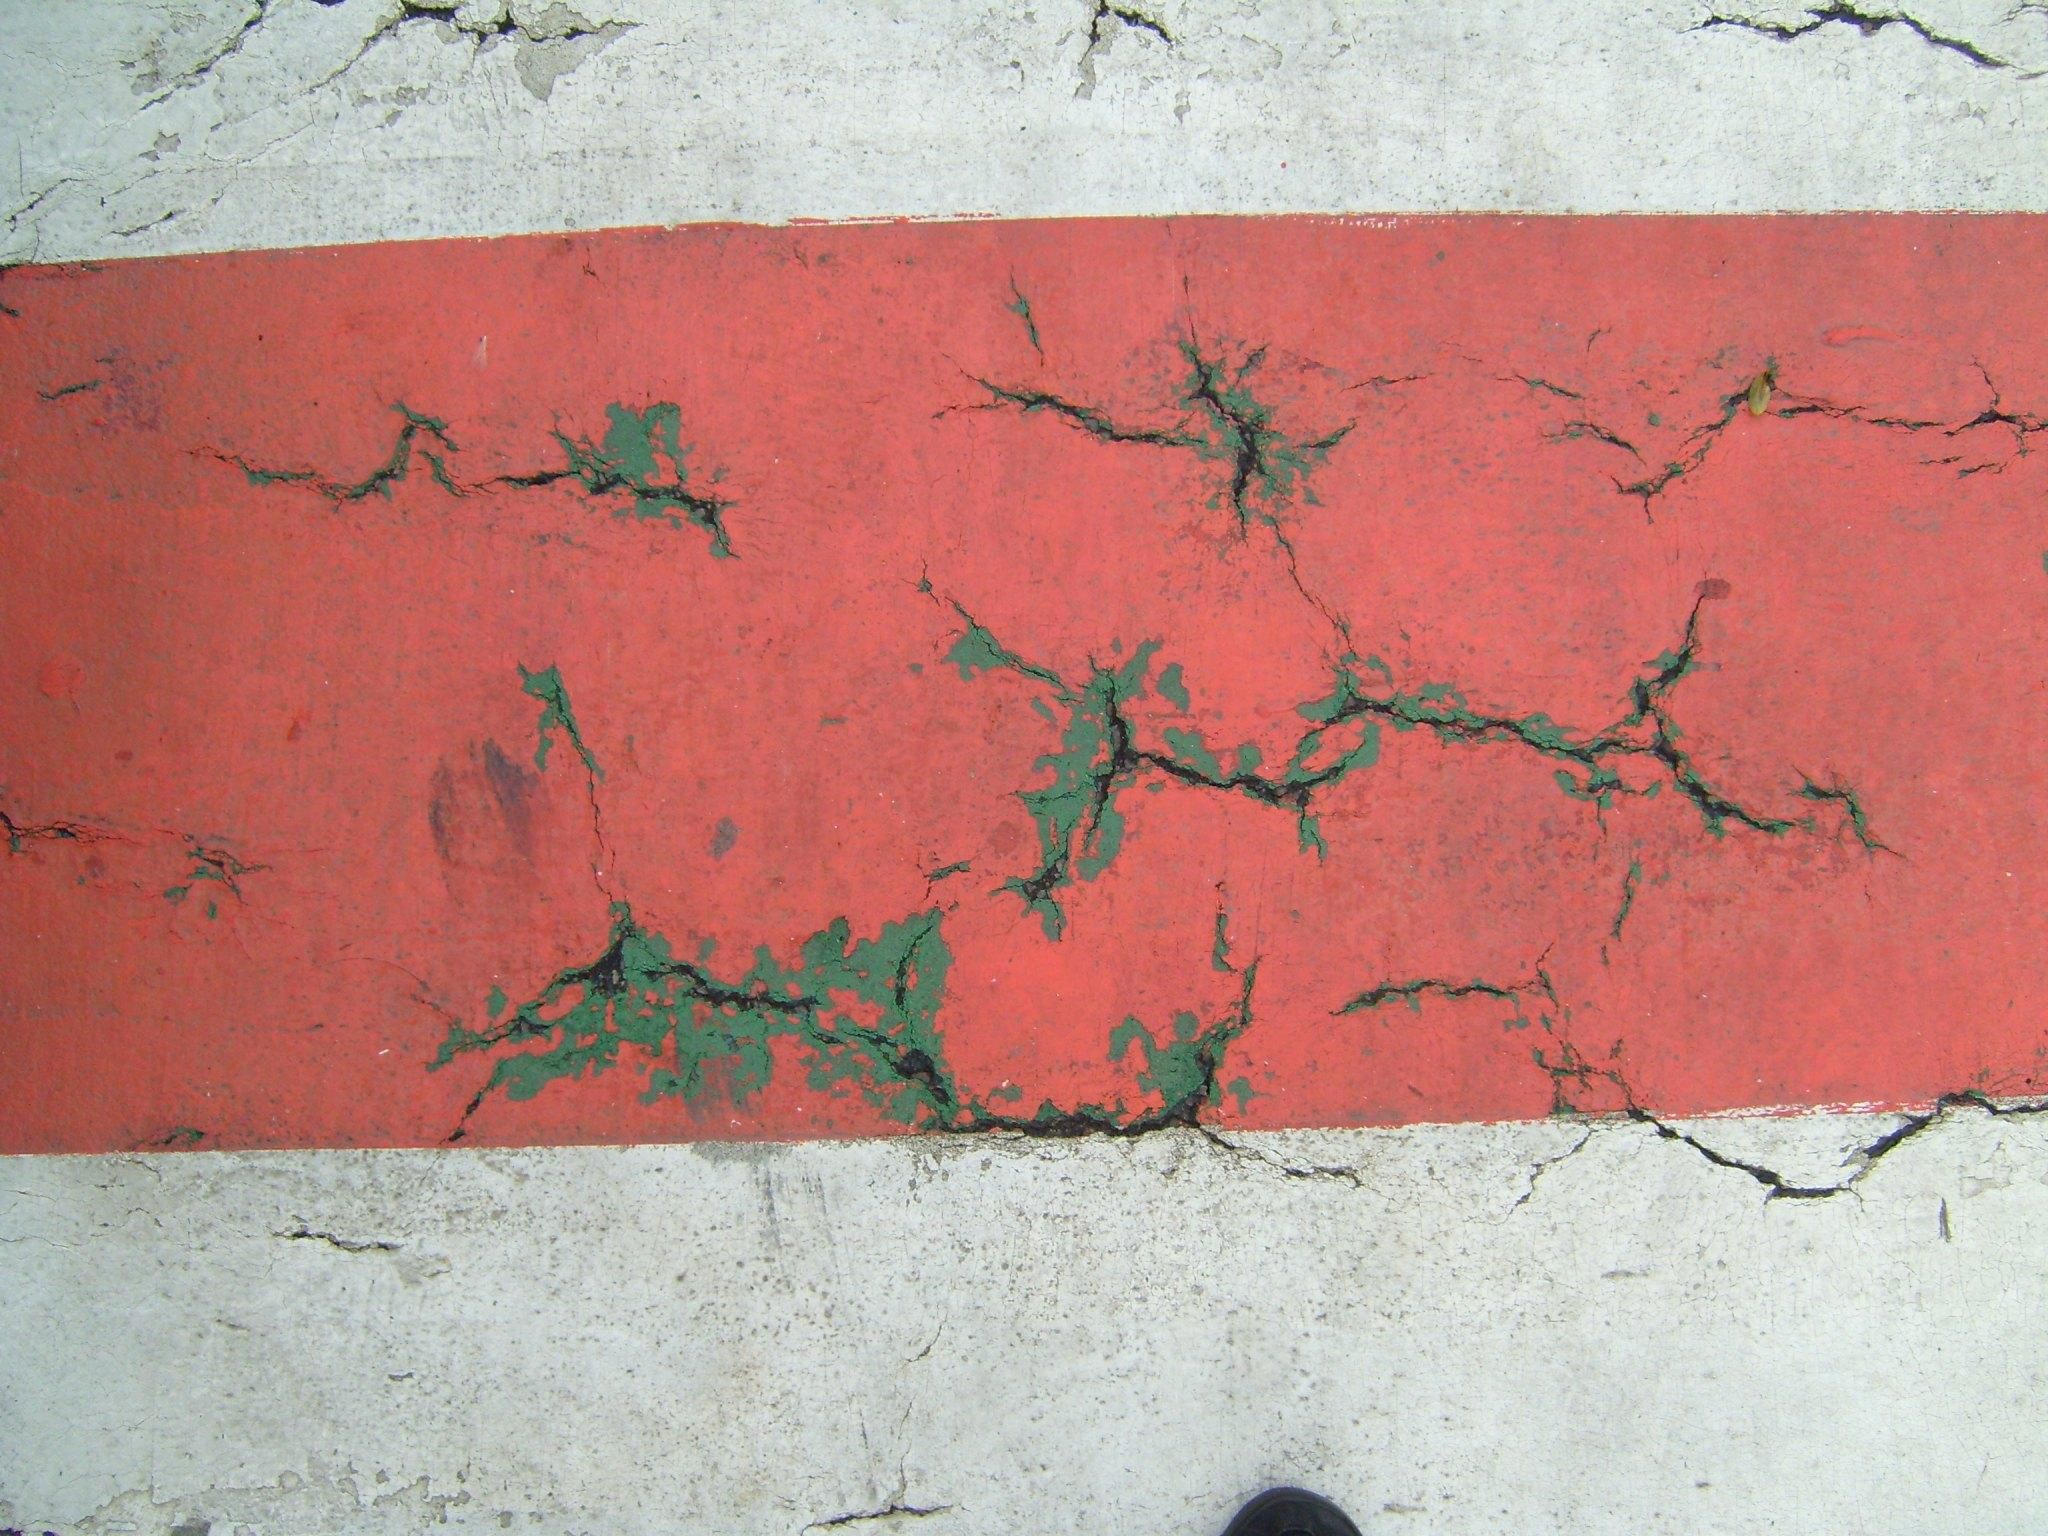
- Cracking. Either you used the wrong paint (wall spray or straight craft acrylic with no fabric medium) or you laid it on too thick. The hard film splits when the cloth bends. Fix: flexible fabric paint, thin coats.
- Peeling. Adhesion failure. The paint never reached the fibers, usually because of leftover sizing or fabric-softener film, or because you never heat-set it. Fix: pre-wash with no softener, and cure it.
- Bleed and fuzzy edges. Stencil lifted, or you dragged the brush sideways, or the coat was too wet. Fix: spray adhesive on the stencil back, dab straight down with an almost-dry dauber, peel while wet.
- Fading. Washing hot, drying hot, washing right-side out, or an under-cure. Fix: heat-set fully, wait 24 hours, then cold, inside out, air dry.
Almost every fabric failure is one of these, and every one of them is upstream of the wash, not in it.
Cotton, poly, canvas: the fabric changes the rules
What you are painting on matters as much as what you paint with.
Cotton is the easy one. It is absorbent, it takes fabric paint well, and it handles a hot iron, so you can set it at high heat with confidence. Most fabric paints are happiest here. If you are learning, learn on cotton.
Polyester and poly blends are trickier on two fronts. The fibers are less absorbent, so paint sits more on the surface and you lean harder on heat-setting and the right paint to make it bond. And poly scorches and melts at temperatures cotton shrugs off, so you cannot crank the iron, which is exactly the heat you wanted for a good set. Lower the iron, use a pressing cloth without fail, and check the paint maker's notes for synthetics. Some textile paints are rated for both natural and synthetic fibers, which is what you want on a blend.
Canvas totes are the friendliest surface of all. Heavy cotton canvas is thick, flat, and stiff, so it does not stretch much, which means less flex for the paint to survive and cleaner edges with less bleed. The weight also makes it forgiving. A tote is the best place to start if you have never stencilled fabric, and it is a better test piece than a shirt you care about.
Whatever the surface, the order never changes: pre-wash, stabilize, mask tight, dab straight down, dry, heat-set, wait, wash cold. That sequence is the difference between a shirt you made once and a shirt you wear for years.
Three ways to put your own image on a shirt

You need a stencil before any of this matters, and there are three ways to get one.
Do it all yourself. Design the image, cut the stencil by hand or with a craft cutter, and run the process above. The most control, the most work, and the most satisfying when the shirt comes out sharp.
Use the free Stencilizer plugin. If you have Photoshop, the free Stencilizer by Schwingo plugin turns a photo into a cut-ready stencil with the bridges already worked out, so you skip the hardest part of the design. Grab it on Adobe Exchange or at tastebueno.com/pages/stencilizer-by-schwingo.
Have us cut it for you. Upload a photo to the Custom Stencilizer and we turn it into a laser-cut stencil and ship it to your door, bridges and detail handled, ready to dab onto a shirt or a tote. Start at tastebueno.com/pages/custom-stencils. Then the only thing between you and a shirt that lasts is heat and 24 hours of patience.
Sources
- General Fabric Paint Heat-Setting Instructions, Dharma Trading Co.
- How to use fabric paint and heat set it, Fabrilish
- How to Prevent Paint Bleed When Stenciling, StencilStop
- Paint Fabric With Acrylic: How to Stop Cracking and Peeling, Deckle Edge
- How to Stencil on Fabric: A Step-by-Step Guide, Sewing Basics Hub


0 comments