

The same stencil that sprays clean on a wall will bleed on a bare plank. Not because you did anything different. Wood pulls wet paint sideways along the grain, past your stencil edge, before it has a chance to dry. You cannot spray your way around that. But you can shut it down before the can ever comes out, with one prep step most people skip because it looks optional.
Why wood bleeds when walls don't

Concrete and brick are porous, but they pull paint straight down into the surface. Wood grain runs in channels, and those channels move liquid along their length. Lay a stencil across them and every channel that passes under a cut edge is a tunnel out. The paint follows it, and you peel the mylar back to find whiskers of color running off every line, always in the grain direction.
That tells you the whole strategy: close the channels first, then keep the paint too dry to travel. Both parts matter, and the first one starts with sandpaper.
Sand, then seal
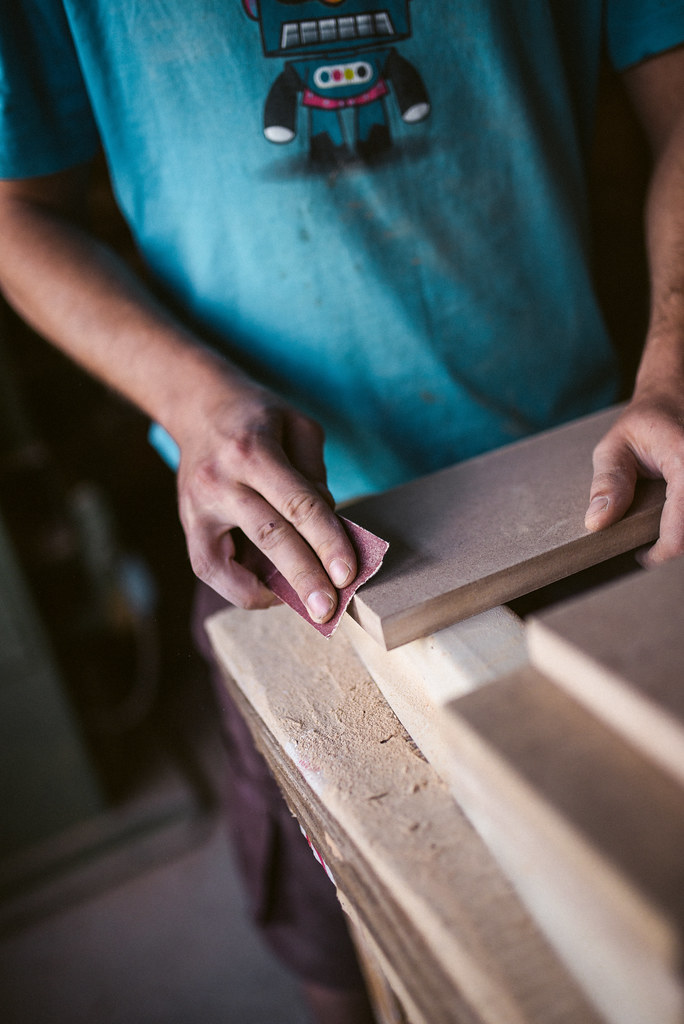
Sand with 150 grit to knock down roughness, then 220 to finish. Wipe the dust off with a damp rag and let the board dry. Sanding alone will not stop bleed, but sealer sits better on smooth wood, and the sealer is the step that does the work.
Seal with a water-based polyurethane or a clear acrylic sealer. One thin coat, let it dry, scuff it lightly with 320, then a second thin coat. Two thin beats one thick, same rule as spraying. The sealer fills the grain channels so paint lands on a closed surface instead of a bundle of open ones. Oil-based sealers work too but take longer to dry, and on detailed stencil work the water-based versions raise the grain less.
Knots need their own attention. They stay thirsty even after sealing and dry to a different sheen. Hit them with an extra coat, or shellac them if they are sappy. If the design allows it, place the stencil so no fine detail sits over a knot.
Hold the stencil against the grain valleys

Even sealed wood is not flat the way glass is flat. Grain leaves shallow valleys, and everywhere a valley crosses your stencil edge there is a gap for overspray to slip through. Tape at the corners will not close those gaps.
Spray adhesive will. Light coat on the back of the mylar, thirty seconds to tack, press it down from the center outward with your palm. The stencil should grip the whole surface, not hang between high spots. This one habit removes most of the bleed that sealing alone leaves behind.
Spray dry, build slow
Hold the can eight to ten inches out and mist the paint on in light passes. The goal is paint that arrives almost dry, with no wet pool sitting at a cut edge looking for a channel. Let each pass flash for a minute before the next. Two or three passes gets full coverage, and the coats are so thin that even an unsealed spot has almost nothing to wick.
If you are brushing instead of spraying, use a stencil brush and work almost dry. Load the brush, then wipe most of the paint off on a paper towel before you dab straight down through the stencil. Never drag a wet brush across a cut edge. Dragging pushes paint exactly where the grain wants to take it.
Peel, then protect
%22%20LCCN2010651505.jpg)
Lift the stencil while the paint is tacky, straight up. Let everything cure, then topcoat with the same water-based poly you sealed with, one thin coat. On a sign or furniture piece that gets handled, use two. The topcoat locks the sprayed edge down so it cannot chip along the crisp line you just worked for.
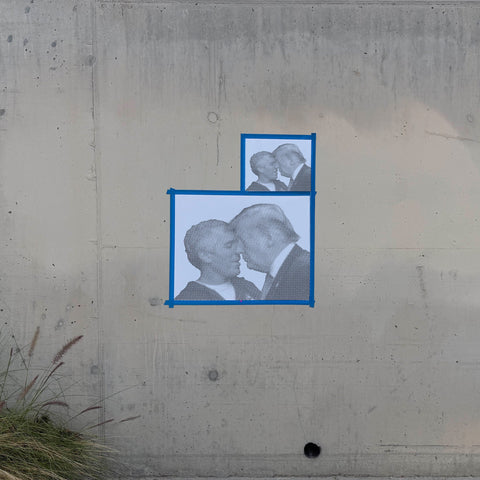
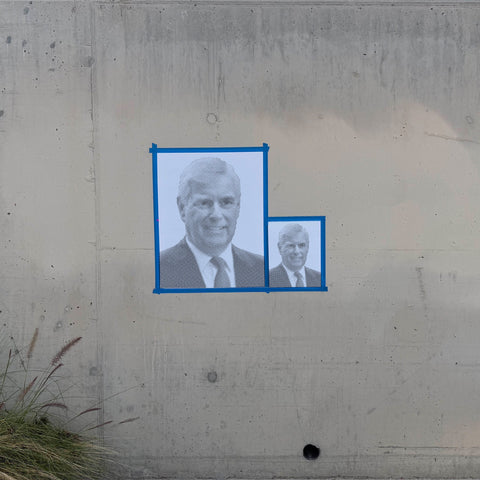
Signs, crate lids, and fence boards are where stencils on wood earn their keep. A flag stencil pack on cedar reads from across a yard, and a halftone portrait like the Epstein stencil on a sealed panel makes a piece you can hang. Same technique either way: seal, stick, mist, peel.
Three ways to get cutting
Cut your own from 5 mil mylar with a fresh blade. Or let the free Stencilizer by Schwingo plugin turn your photo into a cuttable design. Or skip the cutting: Custom Stencils laser-cuts your image and ships the finished sheet, ready for the first board.


0 comments