

Every time you cut a stencil, you make two stencils. The sheet with the holes in it, which you keep, and the pieces that fall out, which you throw away. The part you have been binning is a finished reverse stencil, and it does something the sheet cannot do.
A window and a mask
.jpg?width=1600)
A regular stencil is a window. You spray through the openings and the paint lands where the mylar is not. A reverse stencil flips the job. You take a solid shape, stick it to the surface, and spray over the whole thing. When you lift the shape away, the surface underneath is untouched. The image is the paint that did not happen.
That gives you a silhouette in the exact color of whatever you sprayed on: bare wall, base coat, wood, whatever is under there. No brush can match how clean that edge comes out, because the edge was never painted at all.
So when does a mask beat a window? Three cases, and the third one is the reason most street artists keep every cutout they make.
When to reach for the mask
First, silhouettes. If the design reads as one solid shape, a mask gets you there in one pass with no bridges to cut and no islands to worry about. The problems that wreck a fine window stencil do not exist here.
Second, halos. Leave the mask on the surface and dust light passes around its edge. Lift it and the shape sits inside a ring of fade. Two light passes is enough. This is the fastest depth trick in stenciling and it costs you nothing but the cutout you already own.
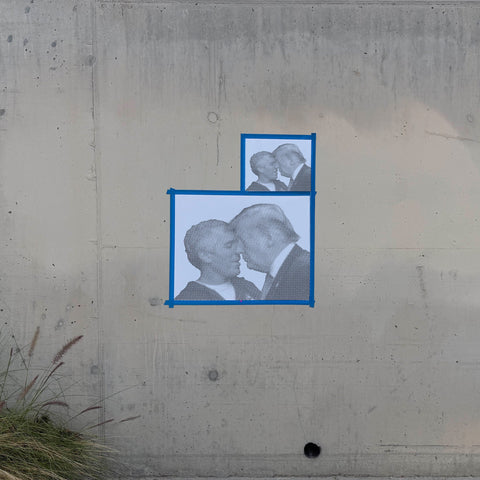
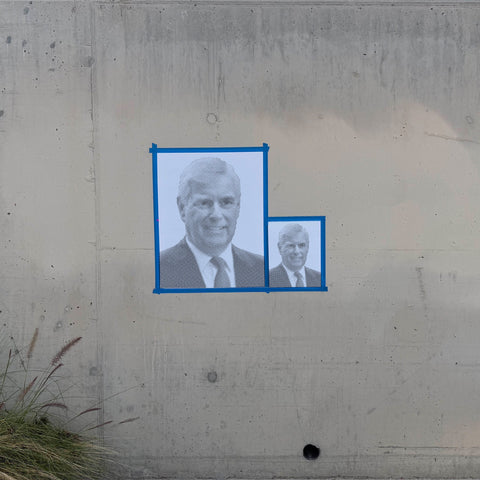
Third, layering. Spray a background color through nothing. Place the mask. Spray the second color over it. Lift. Now you have a two-color piece from one sheet of mylar, and the registration is automatic because the mask was cut from the same design. Stack a third color the same way if the shape allows it.
Before any of that works, though, the mask has to stay flat. This is where reverse stencils fail, and it is not where people expect.
The edge is everything
A window stencil forgives a little lift because gravity and your spare hand hold the sheet against the wall. A mask is a loose island. If its edge curls even a millimeter, paint drifts underneath and the silhouette comes out with a blurred rim on one side.
The fix is spray adhesive. A light coat on the back, let it tack for thirty seconds, then press the mask down from the center out. On metal, magnets work. Tape loops work in a pinch on smooth surfaces, but only in the middle of the shape, never near the edge where they prop it up.
Cut masks from 5 mil mylar or heavier. Thin material curls the moment paint hits it. If you are cutting a shape specifically to use as a mask, skip the bridges entirely. Bridges exist to hold islands inside a window. A mask has no window.
Spraying over a mask
Spray straight on, never at an angle. Angled passes drive paint at the mask edge and under it. Keep the can about eight inches out and build the color in two or three light passes, letting each one flash dry. A single heavy coat pools against the mask edge and wicks underneath, and that is the same bleed problem covered in our spray distance guide.
Lift the mask while the last pass is still tacky. Fully cured paint can bond to the mylar edge and chip when you peel. Pull it straight up, not sideways.
One sheet, both jobs
The move that ties this together: cut your stencil carefully enough that both parts survive, and use them in sequence. Spray the window stencil for a solid filled shape in color one. Then take the cutout, place it exactly on the shape you just made, and halo around it in color two. The fill and the halo line up perfectly because they came from the same cut.
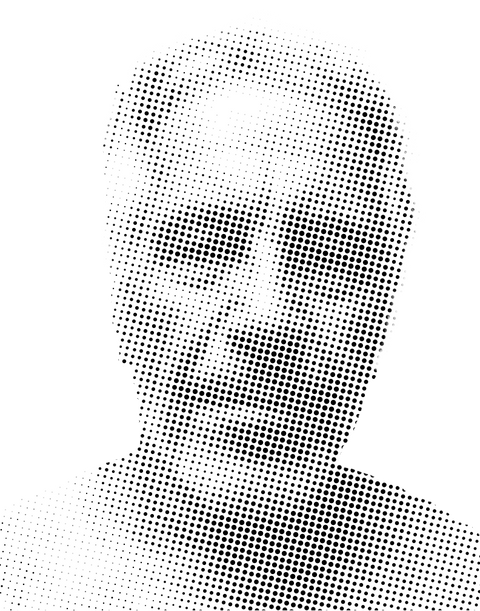
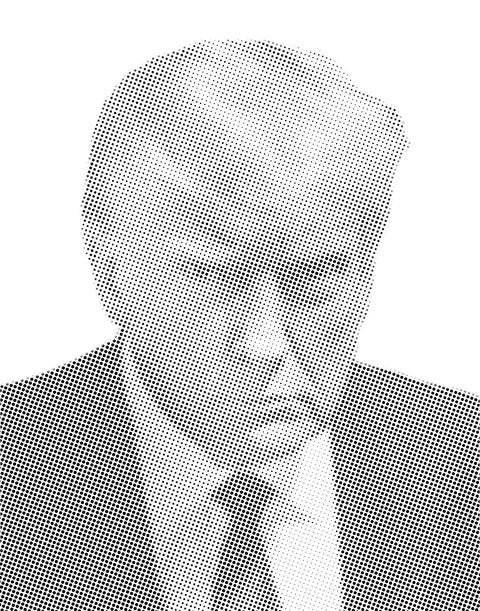
Every halftone stencil we cut ships as the window. Keep your offcuts anyway. Solid shapes from the mustache or a flag pack make masks that are ready to use the day the package arrives.
Three ways to get cutting
Do it by hand: mylar, a fresh number 11 blade, a cutting mat, and the technique above. If you want the computer to do the design work, the free Stencilizer by Schwingo plugin turns any photo into a cuttable stencil file. And if you would rather skip the blade entirely, Custom Stencils takes your image and ships you a laser-cut sheet, window and cutouts both.
0 comments